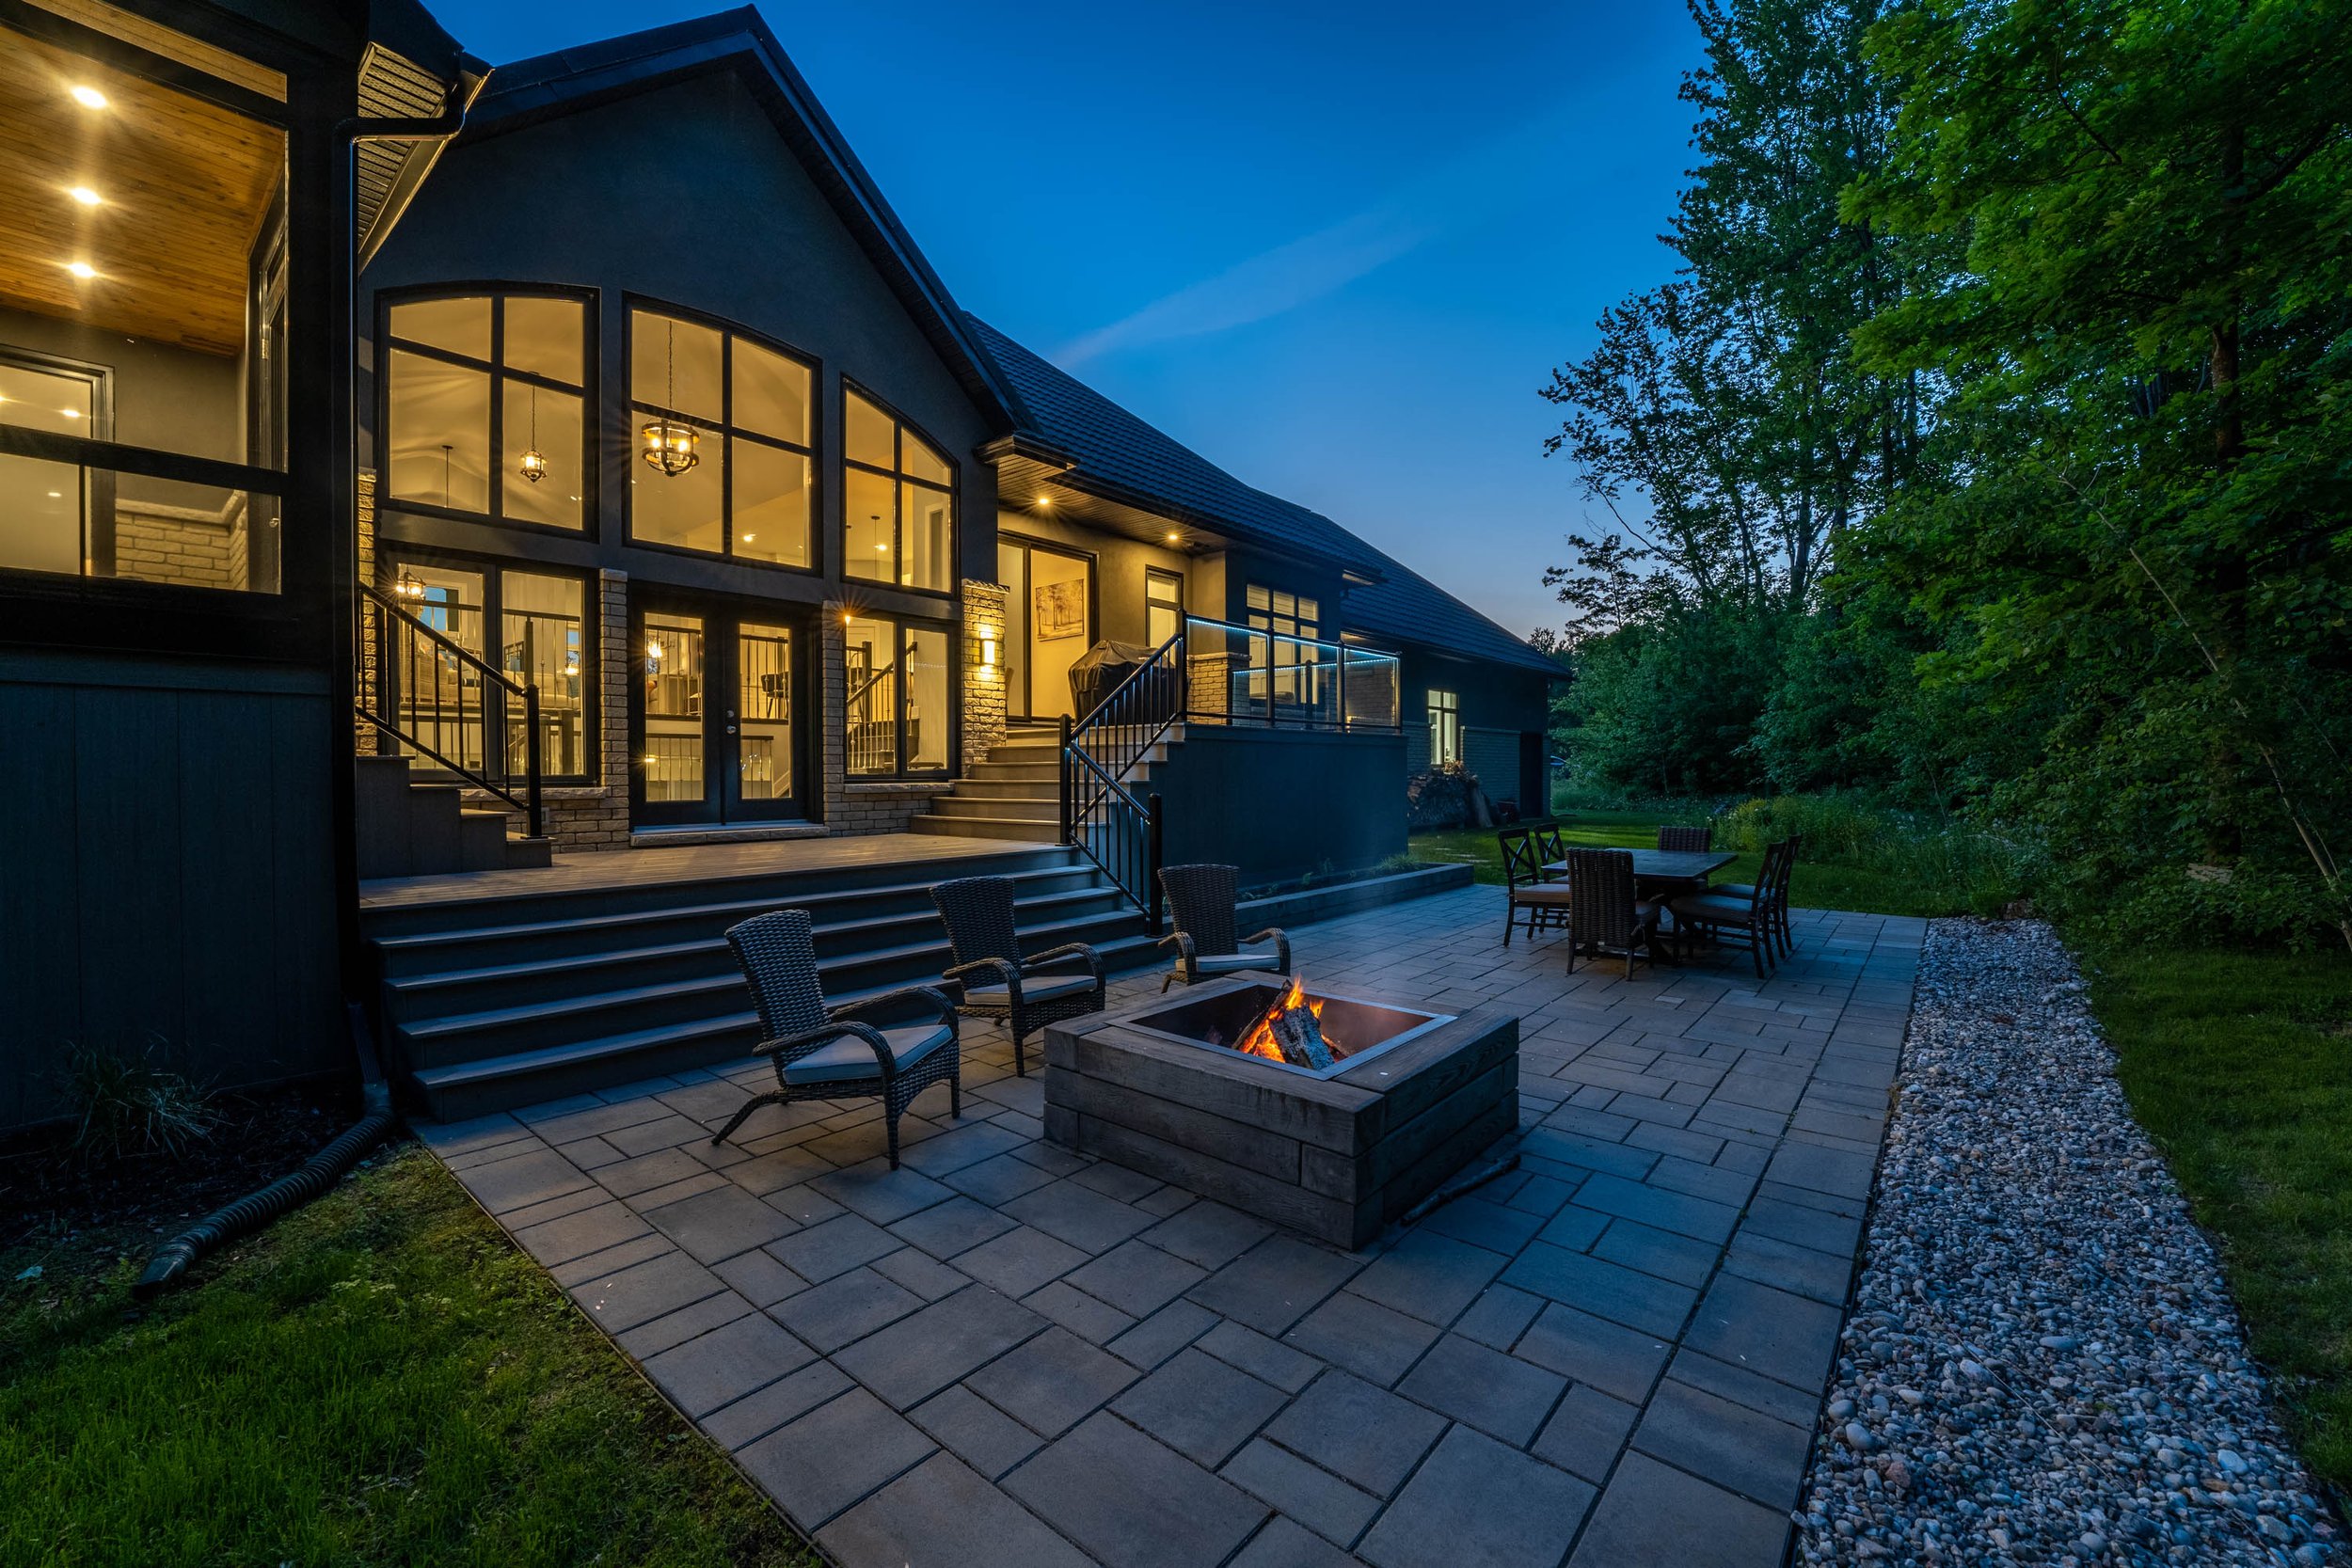
The Ultimate Guide to Professional Real Estate Photography
Introduction
Welcome to our comprehensive guide on professional real estate photography. In this article, we will provide you with invaluable insights and expert tips to help you capture stunning photographs that will make your real estate listings stand out from the competition. With our proven strategies, you'll be able to showcase properties in the best possible light and attract potential buyers or tenants. Let's dive right in!
The Importance of High-Quality Real Estate Photography
In today's digital age, where potential buyers and tenants rely heavily on online listings, high-quality real estate photography plays a crucial role in attracting and engaging prospects. Professional photographs not only grab attention but also convey the unique features and selling points of a property effectively. A visually appealing listing can significantly increase the number of inquiries and showings, ultimately leading to faster sales or rentals.
Understanding the Art and Science of Real Estate Photography
Composition and Framing
Achieving a captivating composition and framing is essential to create visually appealing real estate photographs. Consider the following tips:
- Use the rule of thirds: Divide the frame into nine equal sections with two horizontal and two vertical lines. Position key elements such as the main subject or architectural details along these lines or at their intersections.
- Capture wide angles: Utilize wide-angle lenses to encompass more of the room or outdoor space, giving viewers a sense of the property's size and layout.
- Show a variety of perspectives: Experiment with different angles and heights to showcase the property's unique features from multiple viewpoints.
Lighting and Exposure
Proper lighting and exposure can make a world of difference in real estate photography. Follow these guidelines:
- Utilize natural light: Whenever possible, schedule your photo shoots during the time of day when the natural light is soft and diffused. This will help to avoid harsh shadows and create a warm and inviting atmosphere.
- Balance interior and exterior lighting: When capturing views from windows or glass doors, ensure that the interior and exterior lighting are well-balanced. Consider using HDR (High Dynamic Range) techniques to blend multiple exposures and retain details in both bright and dark areas.
- Avoid overexposure and underexposure: Pay close attention to the camera's exposure settings and make necessary adjustments to prevent images from being too bright or too dark.
Staging and Property Preparation
Preparing the property before a photo shoot is essential to create visually appealing images. Consider the following staging tips:
- Declutter and depersonalize: Remove any unnecessary items and personal belongings to create a clean and neutral canvas that allows potential buyers or tenants to envision themselves in the space.
- Highlight key features: Emphasize the property's unique selling points, such as architectural details, modern appliances, or outdoor amenities. Arrange furniture and decor to showcase these features effectively.
- Enhance curb appeal: For exterior shots, ensure that the landscaping is well-maintained, and the property's exterior is visually appealing. Remove any distractions or obstacles from the frame.
Equipment and Technical Considerations
Cameras and Lenses
Investing in high-quality camera equipment is crucial for professional real estate photography. Consider the following:
- Full-frame DSLR or mirrorless cameras: These cameras provide excellent image quality, low-light performance, and versatility.
- Wide-angle lenses: Choose lenses with a focal length between 16mm and 24mm to capture wider perspectives and encompass more of the space.
- Tripod: Use a sturdy tripod to ensure sharp images, especially in low-light conditions or when utilizing longer exposure times.
Post-Processing and Editing
Post-processing and editing are essential steps in real estate photography to enhance the visual impact of your images. Consider the following techniques:
- White balance adjustment: Correct any color casts and ensure accurate representation of the property's interior and exterior colors.
- Exposure and contrast adjustments: Fine-tune the exposure and contrast to bring out the details and create a balanced image.
- Perspective correction: Use software tools to correct any distortion or perspective issues that may occur when using wide-angle lenses.
Conclusion
Congratulations! You have now learned the ins and outs of professional real estate photography. By implementing the tips and techniques provided in this guide, you can elevate your real estate listings to new heights and outshine your competitors. Remember, high-quality visuals are key to capturing the attention and imagination of potential buyers or tenants. Start implementing these strategies today and watch your real estate business thrive!


